

How To Create Multi Color Vinyl Decals In Master Vinyl Cut
How to Make a Vinyl Decal from a Photo
In this tutorial, we'll walk through the steps to brand a layered vinyl decal from a photo using Cute Cutter, a new webapp that helps you plough photos into cuttable SVGs.
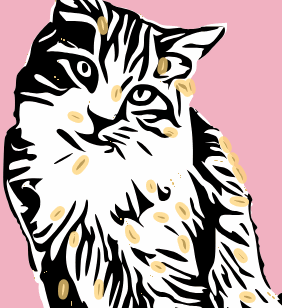
You can follow these steps for whatsoever photo you have on your estimator. We'll be using a photograph of our cat, Eleanor.
Also, we're using a Cricut Maker but these same techniques can be used for cutting on other brands of machines.
Materials

- Two unlike colors of agglutinative vinyl, one low-cal and one nighttime. We're using Cricut Holographic Vinyl and Cricut Removable Black. You may desire to apply permanent vinyl, depending on your application.
- Weeding tools: A weeder is essential. Scraper, scissors, and spatula are squeamish to have.
- Transfer tape
- Laptop or desktop calculator
- Cricut, Silhouette, or similar cutting machine
- A photo on your reckoner in one of these formats: .jpg, .jpeg, .png, or .gif
Footstep 1: Upload Your Photo
Become to cutecutter.com/dashboard to start a new project.
Click the 'Upload New Image' button and navigate to the image file on your reckoner.
Step 2: Remove the Groundwork
In one case you've uploaded your epitome, it'south time to remove the background. Click the 'Remove Background' button.
Click the 'Mark Foreground' push and color the parts of your image that you would like to continue light-green by clicking and holding your mouse downward and cartoon over your subject. You don't need to color the unabridged foreground. But put some green marks to tell the estimator that this is what you want to keep.
And then click the 'Mark Groundwork' push and colour the background parts of your photo red by clicking and holding your mouse down and moving it over the background.
Once y'all accept some of the foreground and background colored you lot should meet a yellow dividing line appear. Whatsoever is on the exterior of this line represents what will exist removed from the image. It may accept a second for the line to update its position once yous add a new mark so take your time with it.
Use the 'Brush Size' slider to make your brush smaller for more detailed strokes or larger for larger strokes. You tin also zoom in and out using the slider in the top toolbar.
Click the 'Washed' button whenever y'all are reasonably happy with your result. Don't worry you can always get back to this footstep to tweak things.

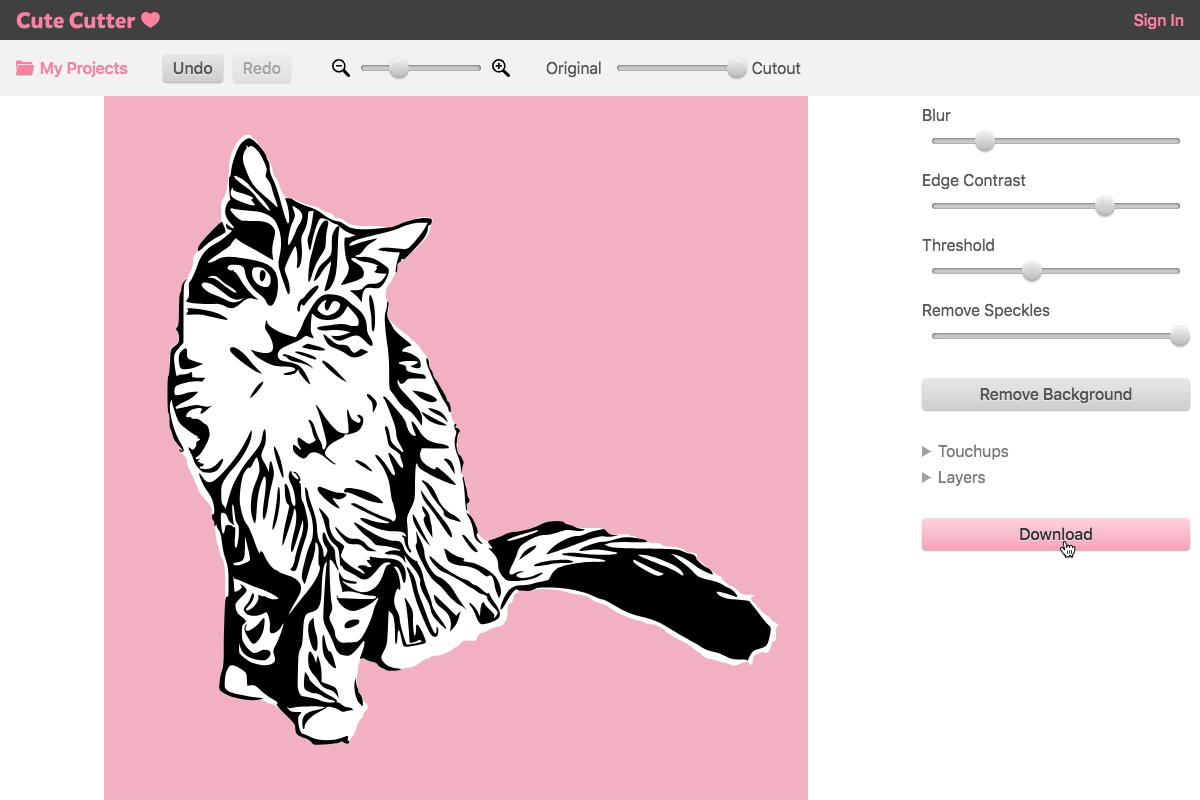
Pace 3: Adjust Epitome Settings
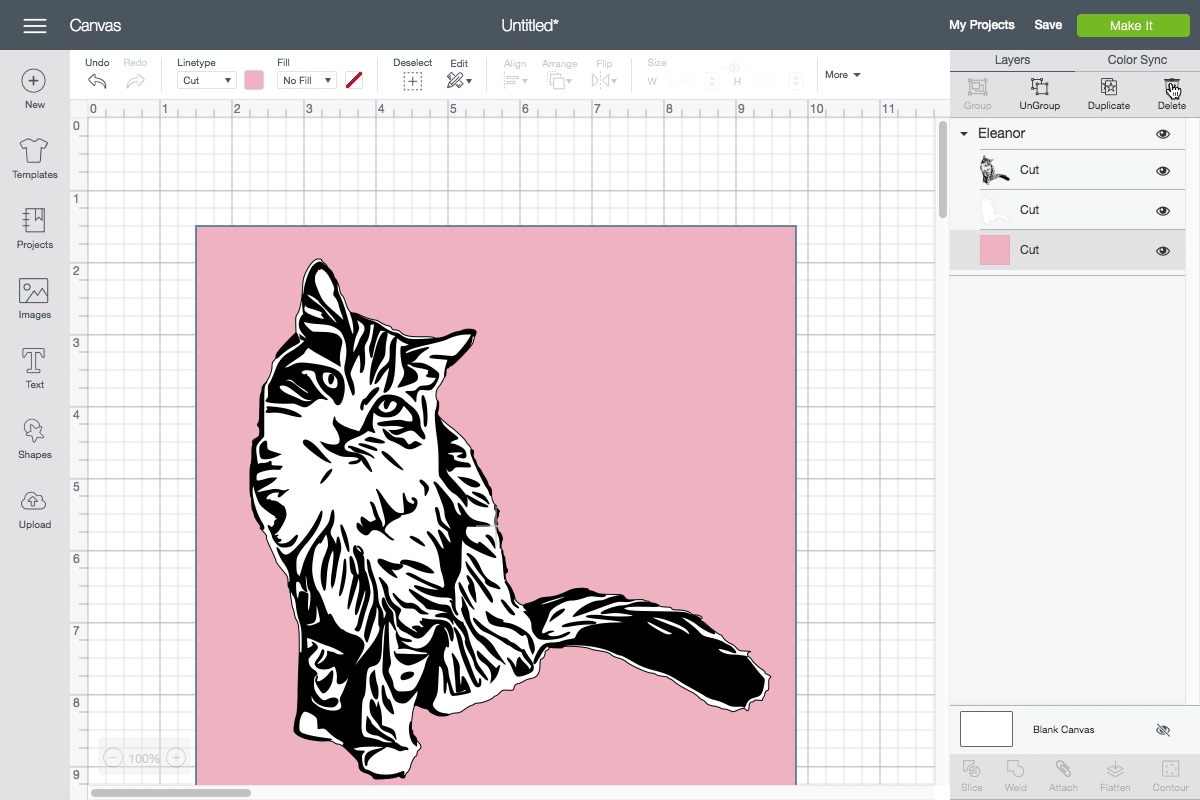
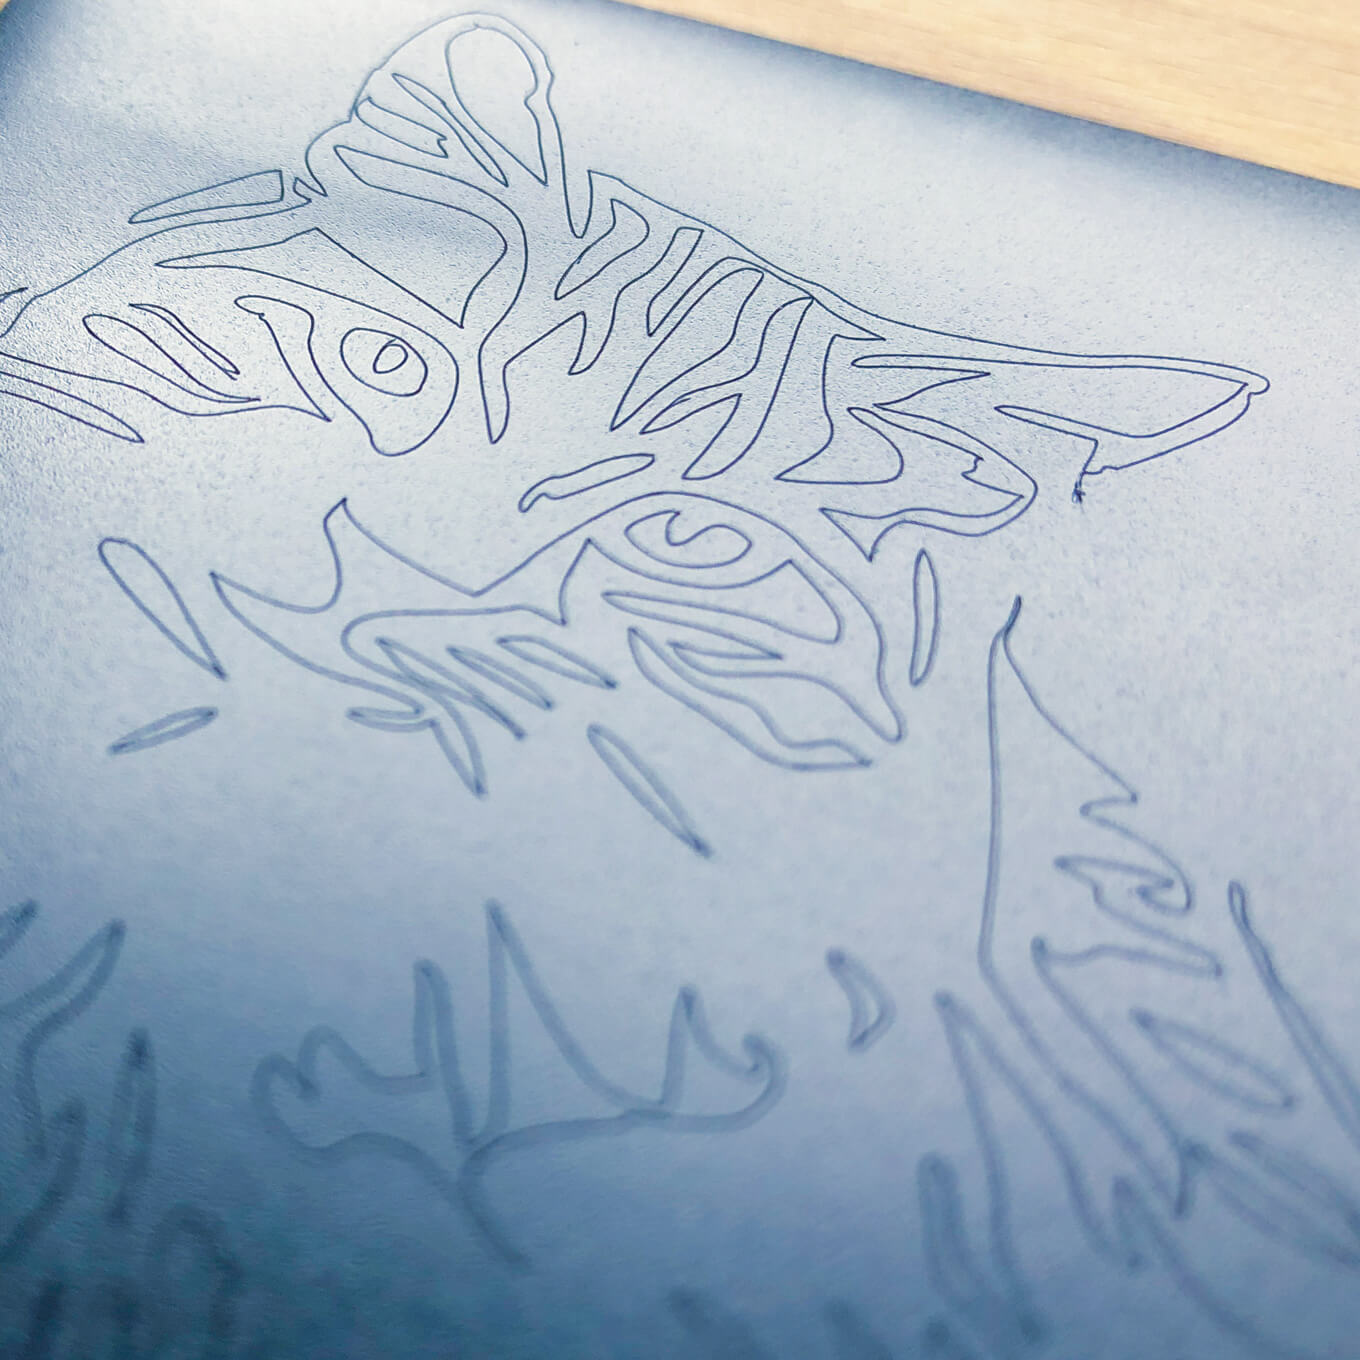
Once yous've removed your background, in that location volition be 3 layers.
- The black layer which shows the shadows and darker parts of your image.
- The white layer behind it which shows highlights and lighter parts of the prototype.
- The pinkish layer in the back which is to help you visualize how the image will look when placed onto a contrasting background. In this case, information technology can help the states see how the decal might wait once information technology's stuck to something.
Now yous volition use aligning tools on the correct to plow your epitome into a work of fine art that you can cutting on your cutting machine.
There are four settings: Blur, Edge Contrast, Threshold, and Remove Speckles. You'll want to experiment with all these settings to get the image you want.
Blur
Blur controls the amount of item. With no blur, you tin can see all the fine detail of the original image and as you lot increase blur those details get blurred out and the epitome becomes more abstruse. More often than not we similar to first blur low and then bring information technology college while nevertheless making sure our bailiwick is recognizable.
Border Contrast
Edge contrast volition emphasize where night regions and lite regions meet. It works great where you lot desire to emphasize texture, similar fur or hair. Only go along in mind that for human faces, edges hateful wrinkles! So for human faces nosotros like to keep edge contrast low (but high enough to bring out the optics, nose, and rima oris). For furry friends, nosotros'll experiment with college edge contrast depending on how much we want to bring out the fur texture.
Threshold
Threshold controls the balance of black and white in your image. The threshold is the cutoff point where the estimator determines what is a shadow (blackness) and what is a highlight (white). We usually adjust Threshold to find the perfect residual indicate, then we'll go dorsum to tweak Blur and Edge Contrast over again.
Remove Speckles
This setting removes little speckles (white or black) from the cutout. The setting controls how big a region should be in order to count as a "speckle". Since speckles are abrasive to weed and don't contribute much to the overall impact of the blueprint, nosotros'll usually turn this up loftier so long as we're not losing any important details.
Tip: If Remove Speckles is as well high you might lose an of import "speckle", like an eye! If you can't effigy out why your eyes are getting lost, make sure to turn Remove Speckles down. We like to keep it down while playing with the other settings, then bring information technology up every bit the finishing touch.
Stride four: Download the SVG
When you're done tweaking the prototype settings, you're set up to download your design as an SVG and cut it out with your Cricut!
Click the 'Download' button in the lower correct. You should notice your SVG file in your 'Downloads' folder on your computer.
Stride five: Cut Your Layers with Cricut Design Space
Go to design.cricut.com and click the 'New Project' button.
Click the 'Upload' button on the left side of the screen.
Click the 'Scan' push button and navigate to your downloaded SVG. You should find the SVG from Cute Cutter in your 'Downloads' folder.
Click 'Save'.
Click on the thumbnail of your paradigm and click 'Insert Images' in the lower right corner.
We don't need the pink background so in the layers panel on the right select the pink background layer and then hit the 'Backspace' or 'Delete' central to delete it.
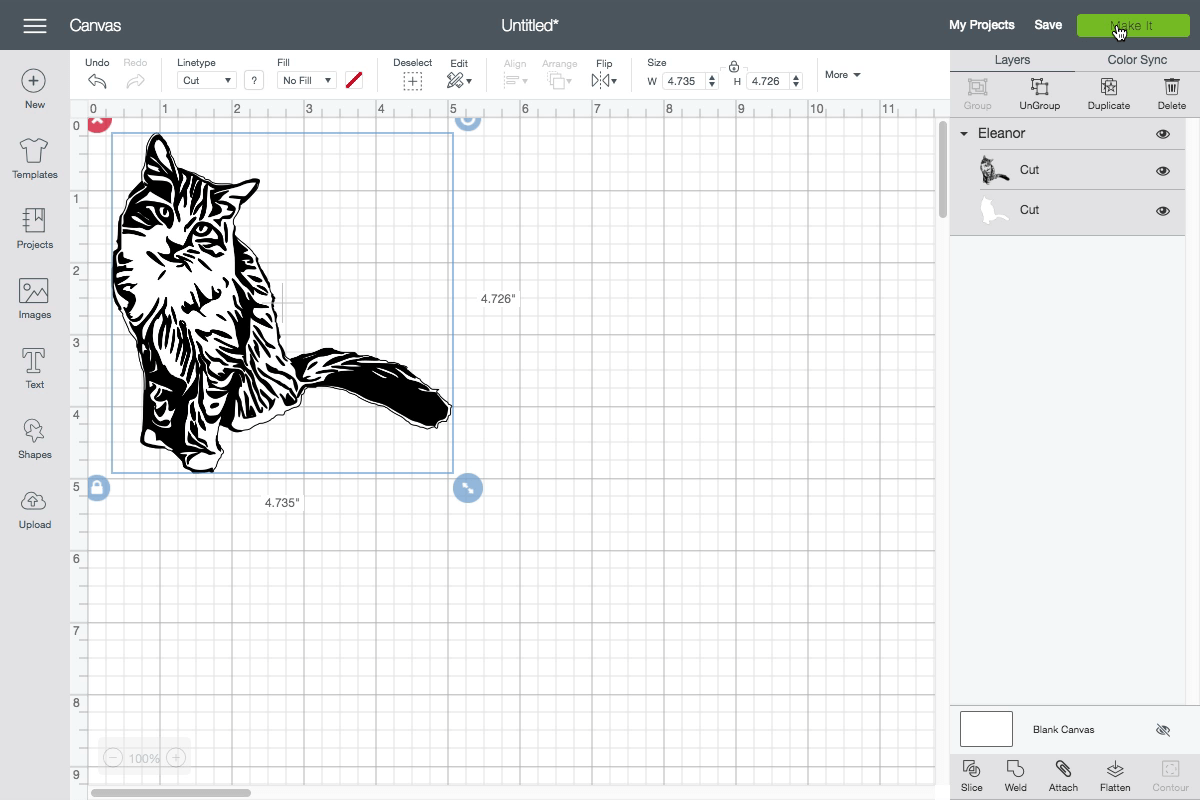
Click on your image and scale information technology to size with the handle in the lower right corner of the prototype. Check that the width and pinnacle will work for your application.
When yous're ready click the 'Brand It' in the top right corner.
Make certain you select the material you're using (eg Premium Vinyl) and follow the prompts on the screen to cut your ii vinyl layers.
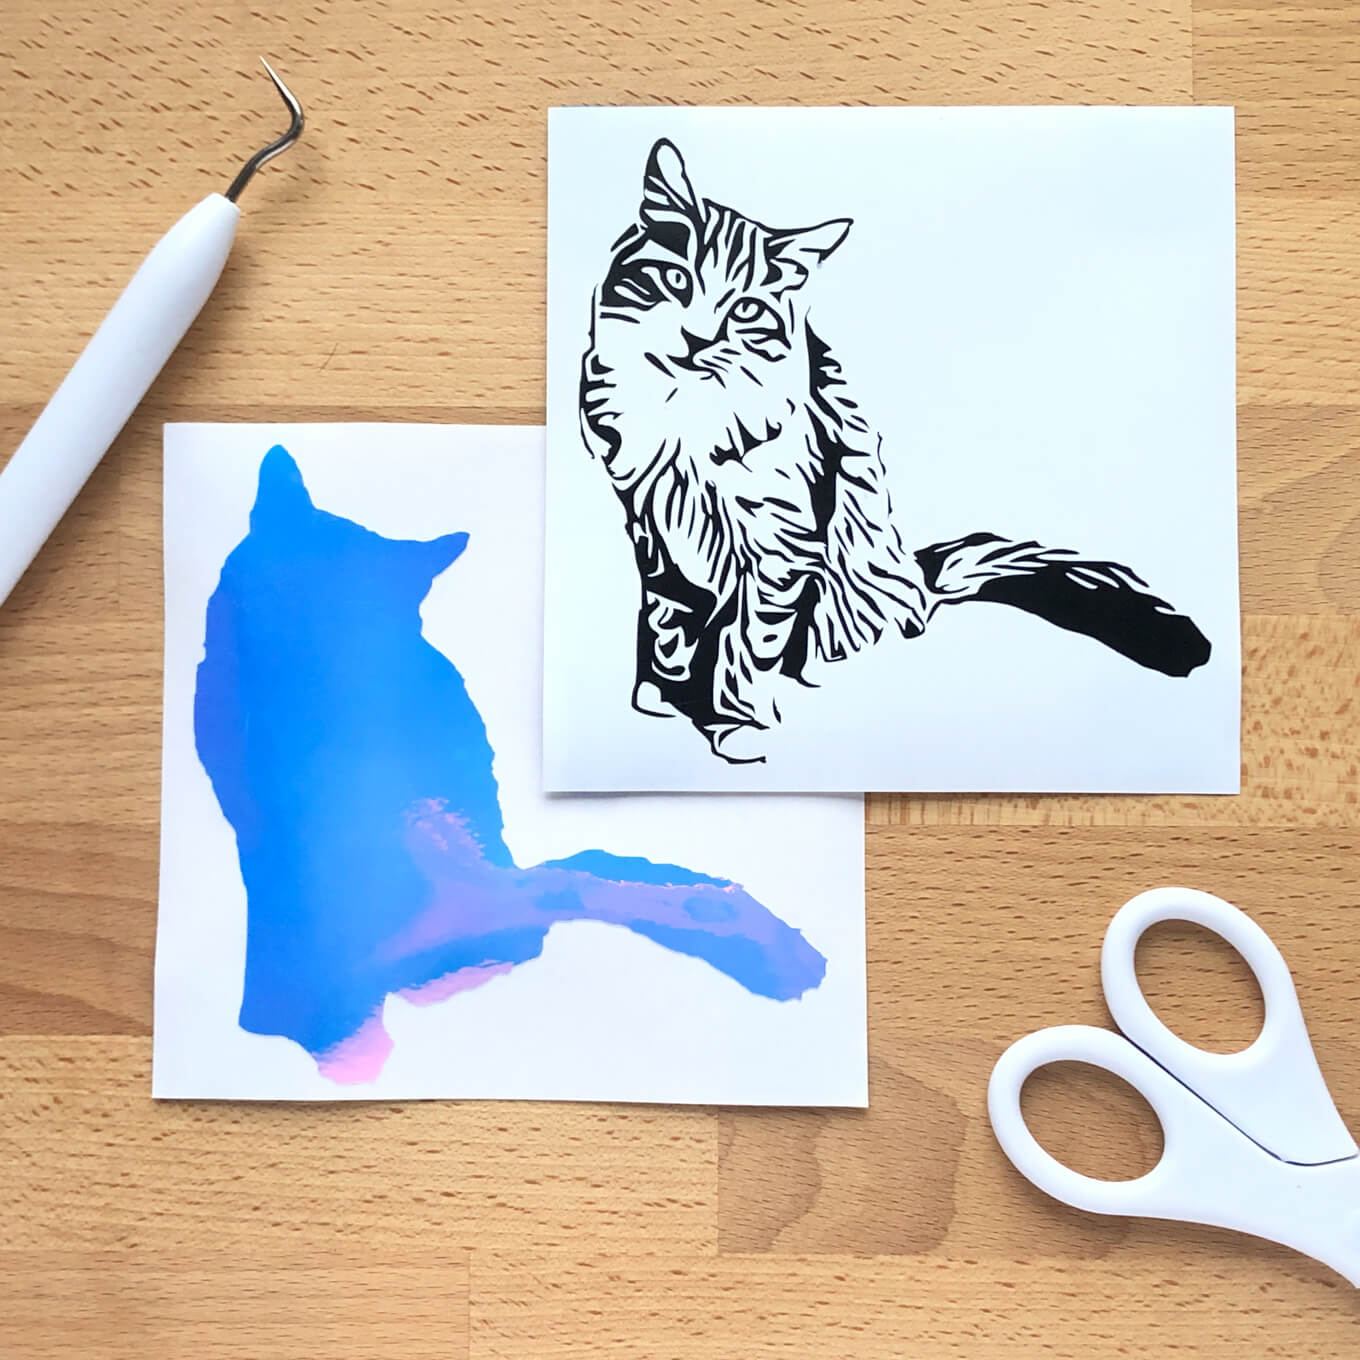
Step half dozen: Weed Your Vinyl Cutouts
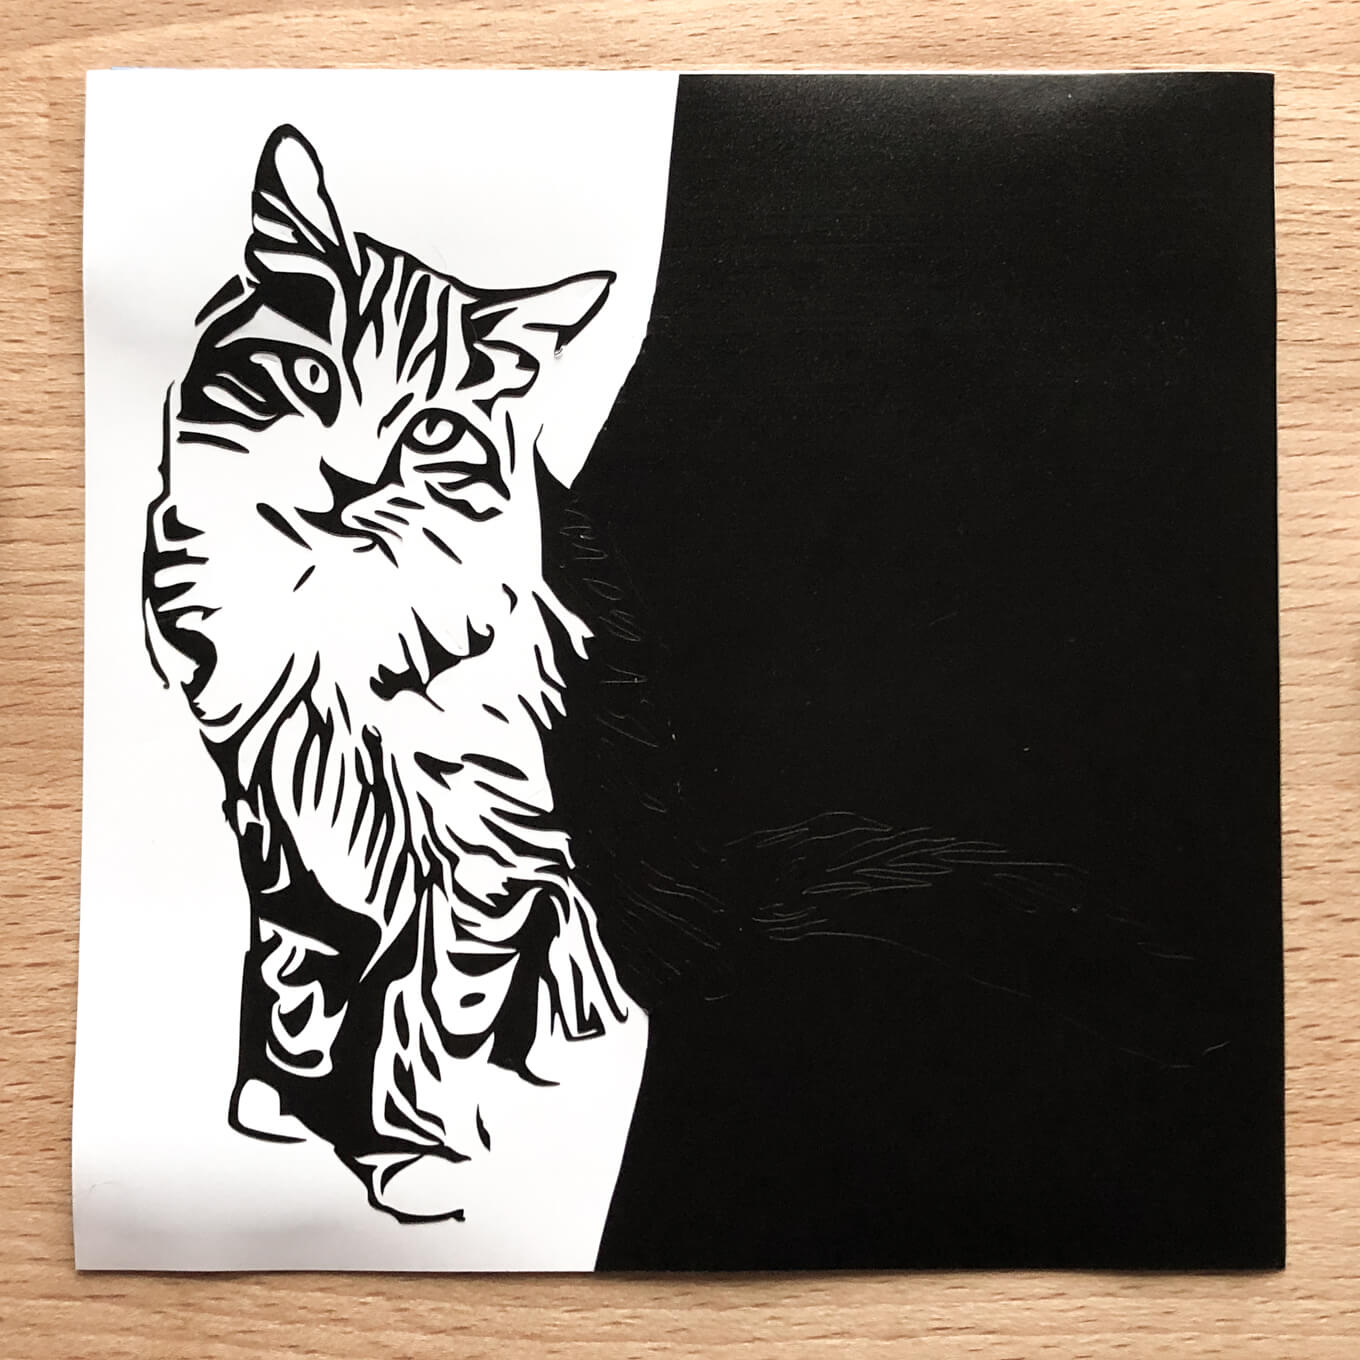
Once you have both layers of the image cutting, you'll need to weed them.
If you haven't done a project with adhesive vinyl before, notice that the vinyl is stuck to what is called a release liner. When yous cut vinyl, you're only cut the vinyl layer. The release liner stays intact. Weeding is the procedure of removing the excess vinyl from the release liner.
Using a weeding tool outset at a corner and carefully pull the vinyl that is not role of your design abroad from the liner. Take your fourth dimension and make sure that you're not removing any piddling "islands" that are part of the design.

Tips
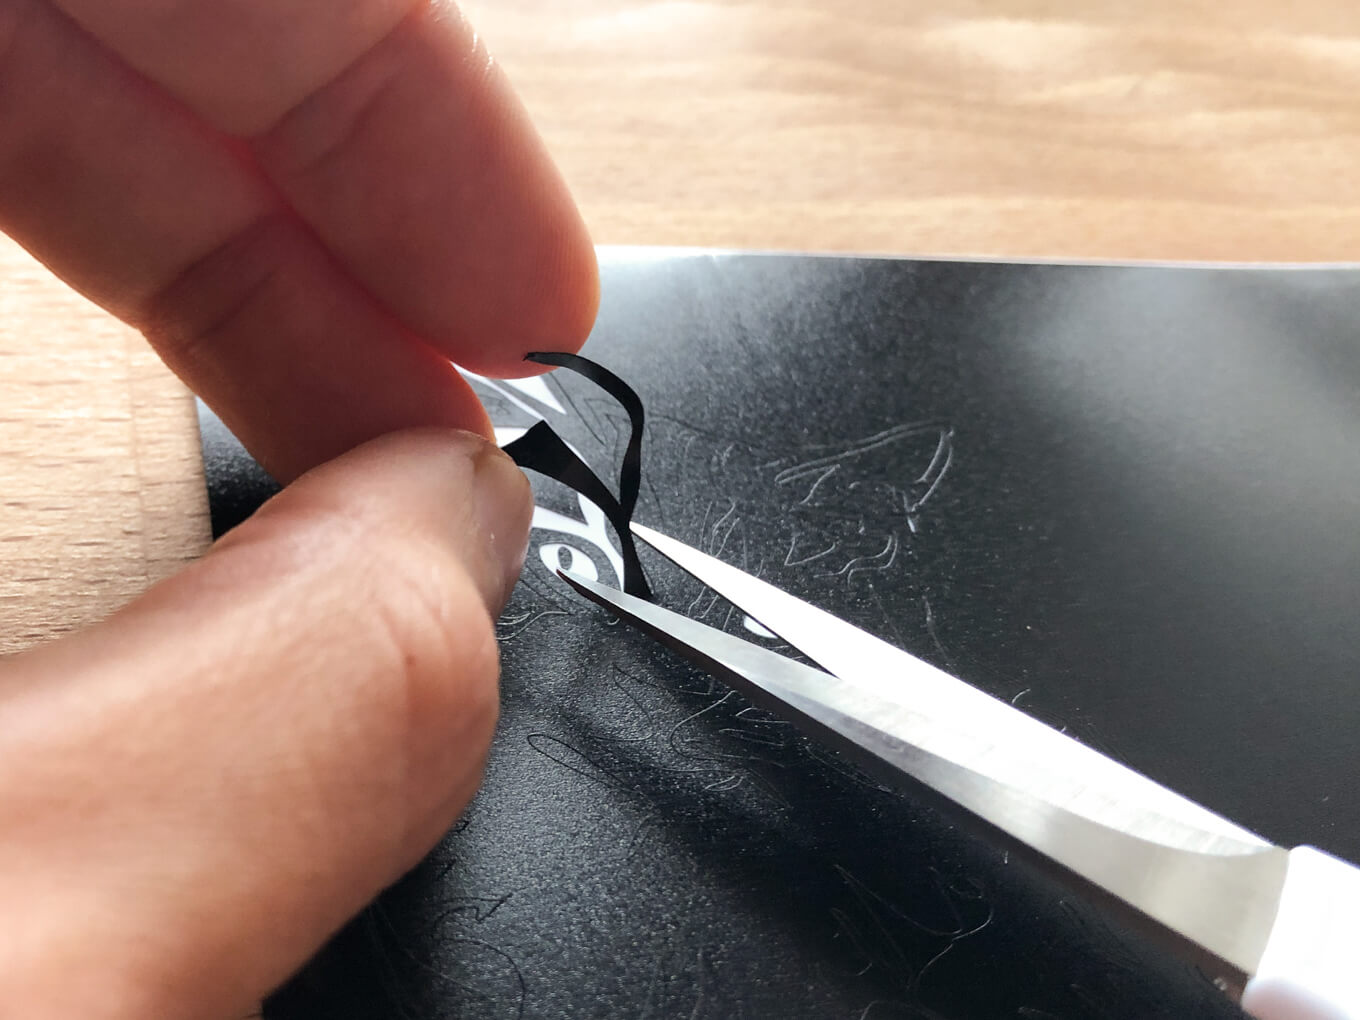
- For larger, intricate pieces, we similar to weed part of the piece off and then snip information technology with small scissors. This way you tin can weed a large piece in stages.
- Take your time! Brand sure y'all have plenty of calorie-free. We sometimes clothing a headlamp!
- Print the blueprint or take information technology open up on your estimator for comparison.
- If it'southward also hard to weed, endeavor scaling the blueprint in Cricut Design Space so that it'south bigger. Bigger designs are easier to weed since all the pieces are bigger.
- Start with the hardest role first. If you mess up you won't have to redo everything else.
- If some parts aren't cut all the fashion through, or pieces that should be cutting are sticking together, check your cut settings. You may need to replace your bract. Y'all can also try setting Pressure to 'More' in the Materials setting.
- If some parts become dragged around and messed up while the Cricut is cut, and then the blade is pressing also difficult. Y'all may need to replace your blade, or try setting Force per unit area to 'Less' in the Materials setting.
Step 7: Utilise Your Decal
At present that you lot're done weeding your vinyl cutouts, you need to apply transfer tape over the layers.
At that place are two ways you can apply your decal to an object.
- You can pre-assemble the decal onto a single piece of transfer tape and place the entire decal onto the object or surface — something you may desire to practice if you lot're giving the decal to someone else to employ.
- Y'all can add each layer to your desired object/surface individually which would crave each layer having it's ain piece of transfer tape.
Nosotros find information technology easier to apply the decal in ii steps onto a surface. Information technology's easier to get the bubbles out of the each layer individually this way.
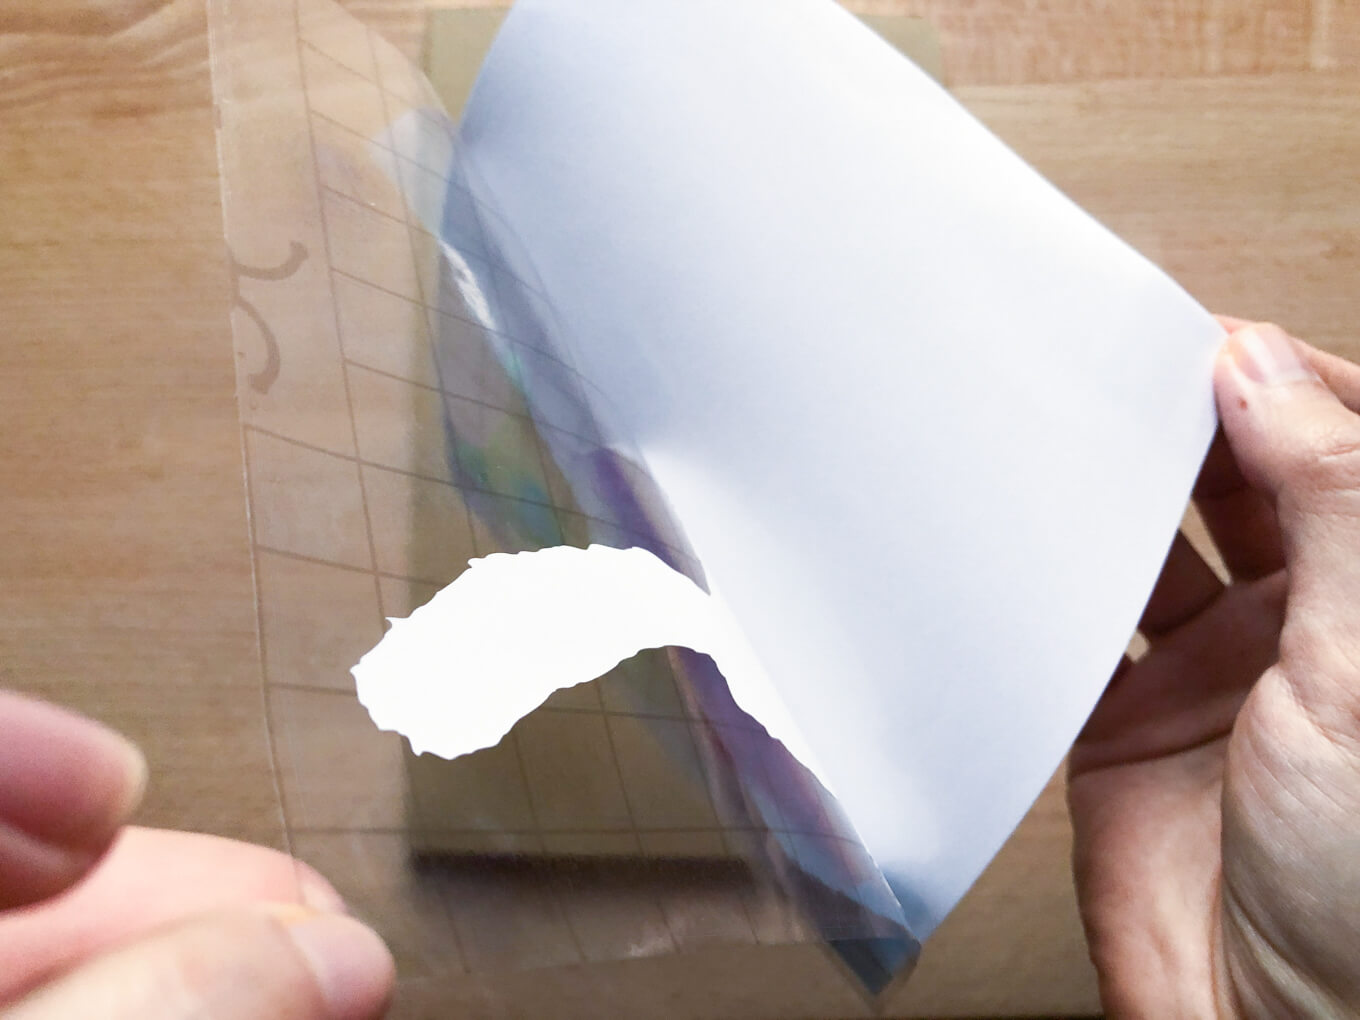
Showtime with the bottom layer (the larger, low-cal-colored vinyl). Cut a piece of transfer tape to size and pare it away from its liner. Now place the transfer tape on top of the vinyl.
Utilize the Cricut scraper tool or a credit card to burnish the transfer tape onto the vinyl design. Press firmly and so that the vinyl sticks to the design.
Carefully peel the transfer tape (with the design attached) off of the release liner of the base layer.
![]()
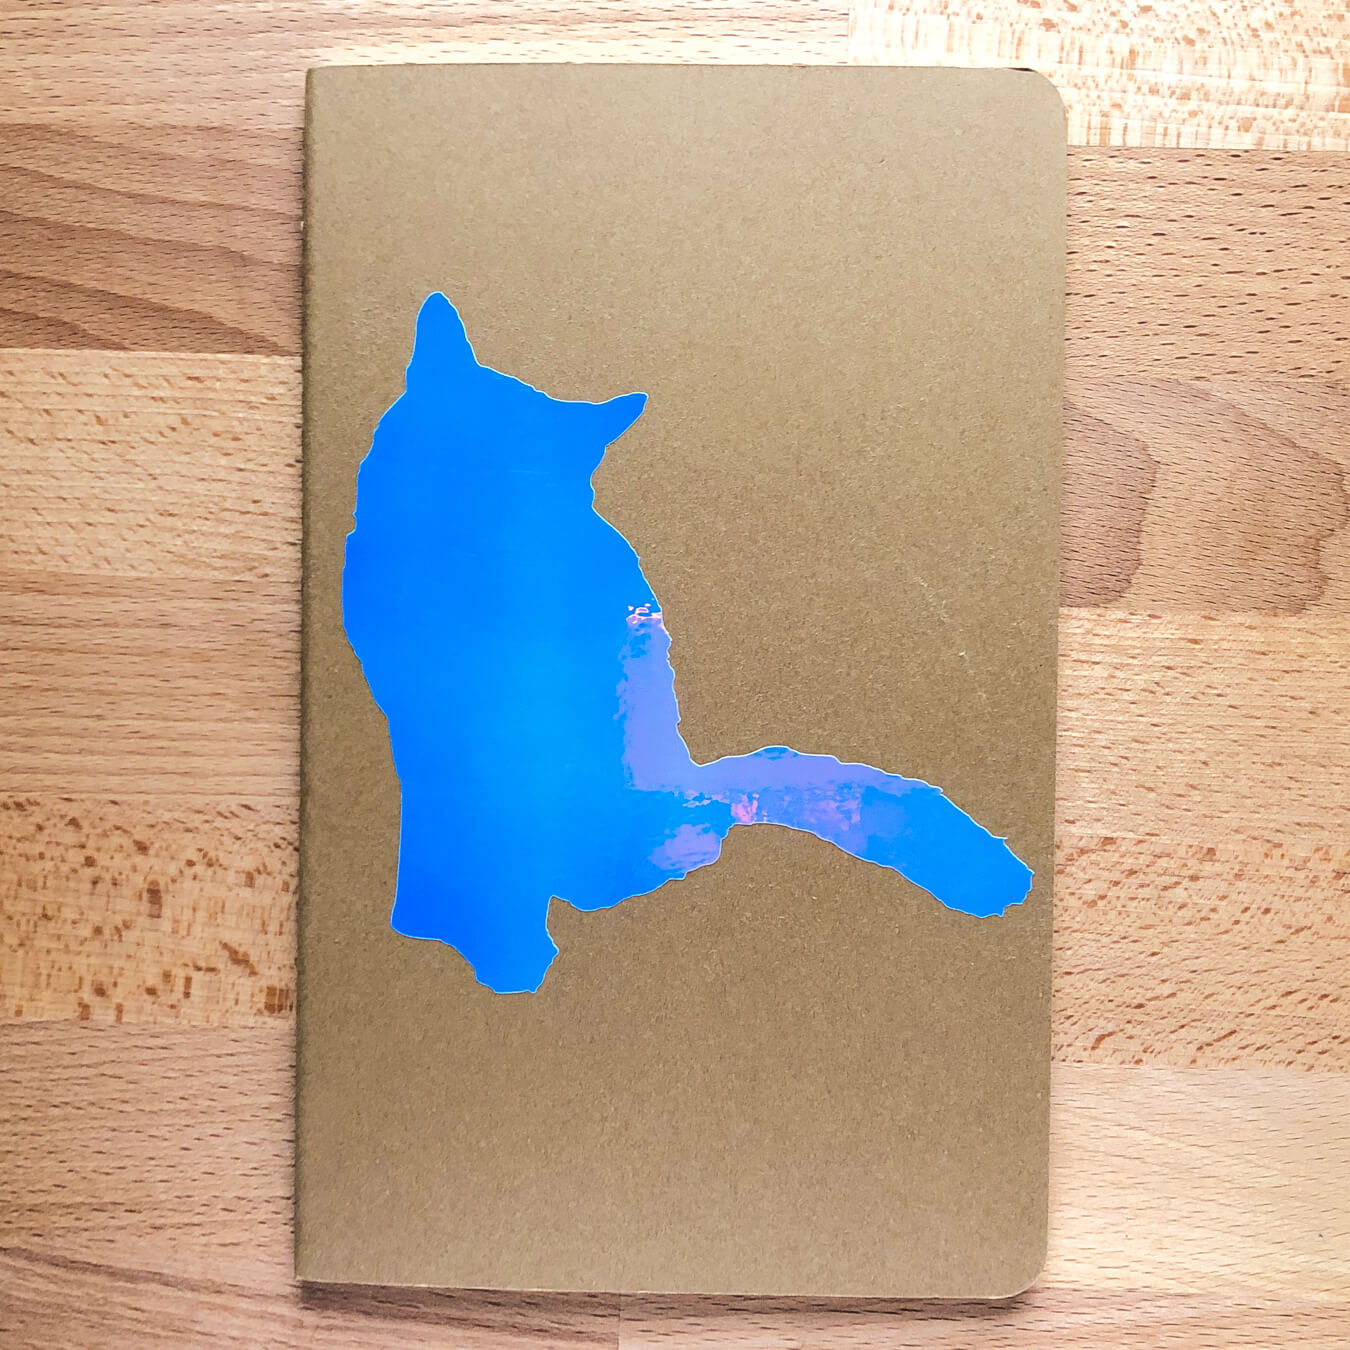
Now place the transfer tape and base layer blueprint onto the surface of your choice and use your scraper or credit card to burnish the design, pressing firmly so that the base of operations layer sticks to the surface.
Peel the transfer record off.

Now repeat these steps with the pinnacle layer (dark-colored vinyl). Advisedly line it up on superlative of the bottom layer. Over again for this step information technology tin be helpful to accept a printout of the design nearby so that you can ensure you lot're placing information technology correctly.
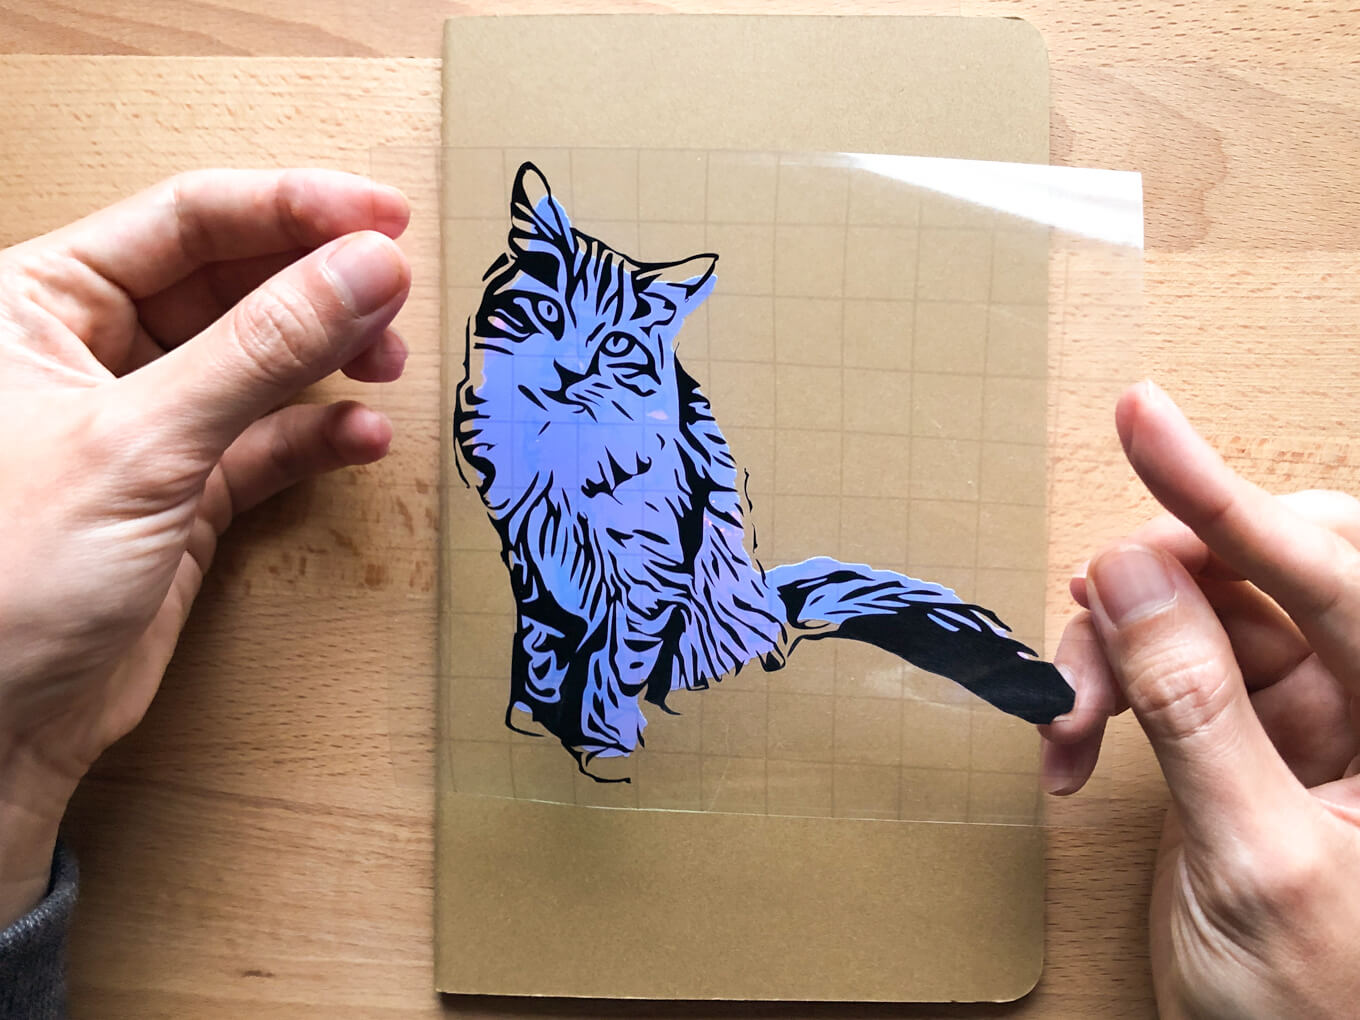
Carefully skin the transfer tape off, ensuring you don't remove any small pieces of vinyl.
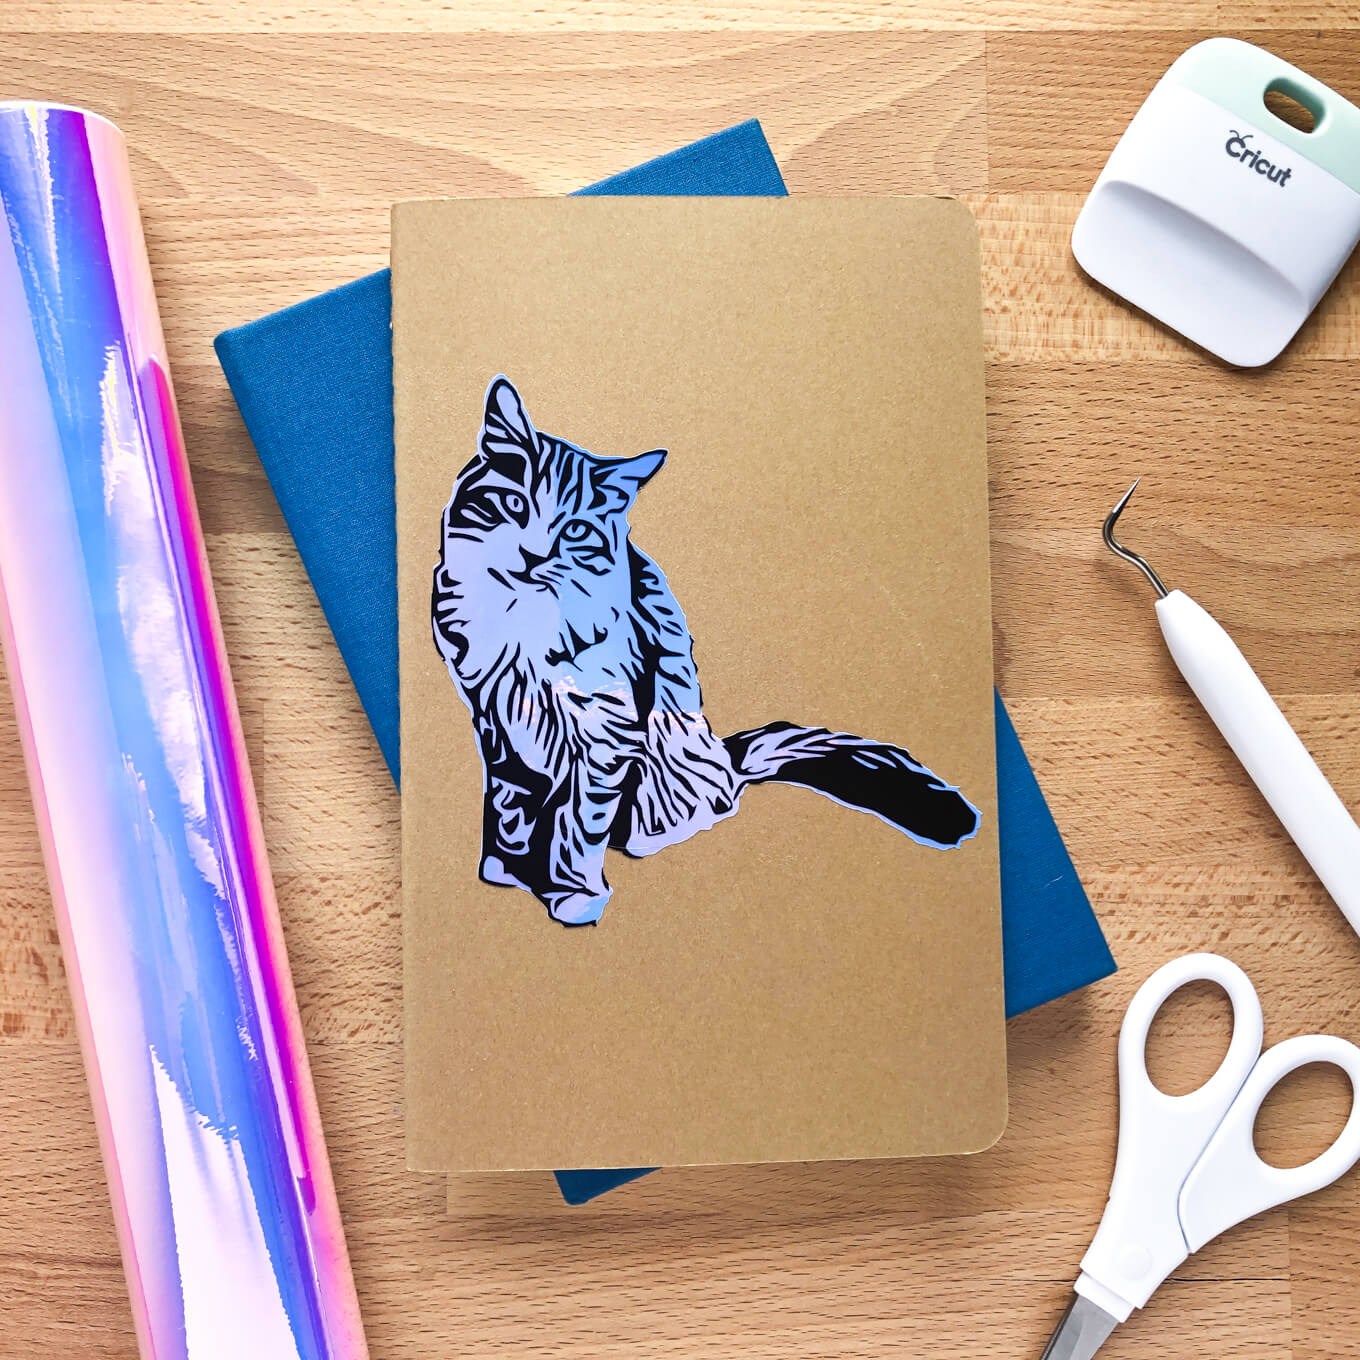
And that's it! 😸
You're welcome and encouraged to link to CuteCutter.com or apply a single image with a brief description to link back to any post. Republishing posts in their entirety is prohibited. Feel costless to pin on Pinterest!

How To Create Multi Color Vinyl Decals In Master Vinyl Cut,
Source: https://cutecutter.com/make-a-vinyl-decal/
Posted by: rosasfroopped.blogspot.com
0 Response to "How To Create Multi Color Vinyl Decals In Master Vinyl Cut"
Post a Comment